

Once a group upgrades to GroupSpot Premium and assigns its Premium subscription to the group, owners and admins can immediately begin setting up Payments from Group Settings in the group menu.
Owners can also grant any group member access to Payments by toggling on Manage Payments using role based permissions from their member directory.
The final step in setting up Payments is securely connecting your group's bank account. This allows GroupSpot to send your payouts by ACH bank transfer and enables advance payments and final payouts for your group.
1. Open your group menu and tap Group Settings.

2. Scroll down to Feature Settings and tap Payments to get your setup in place.
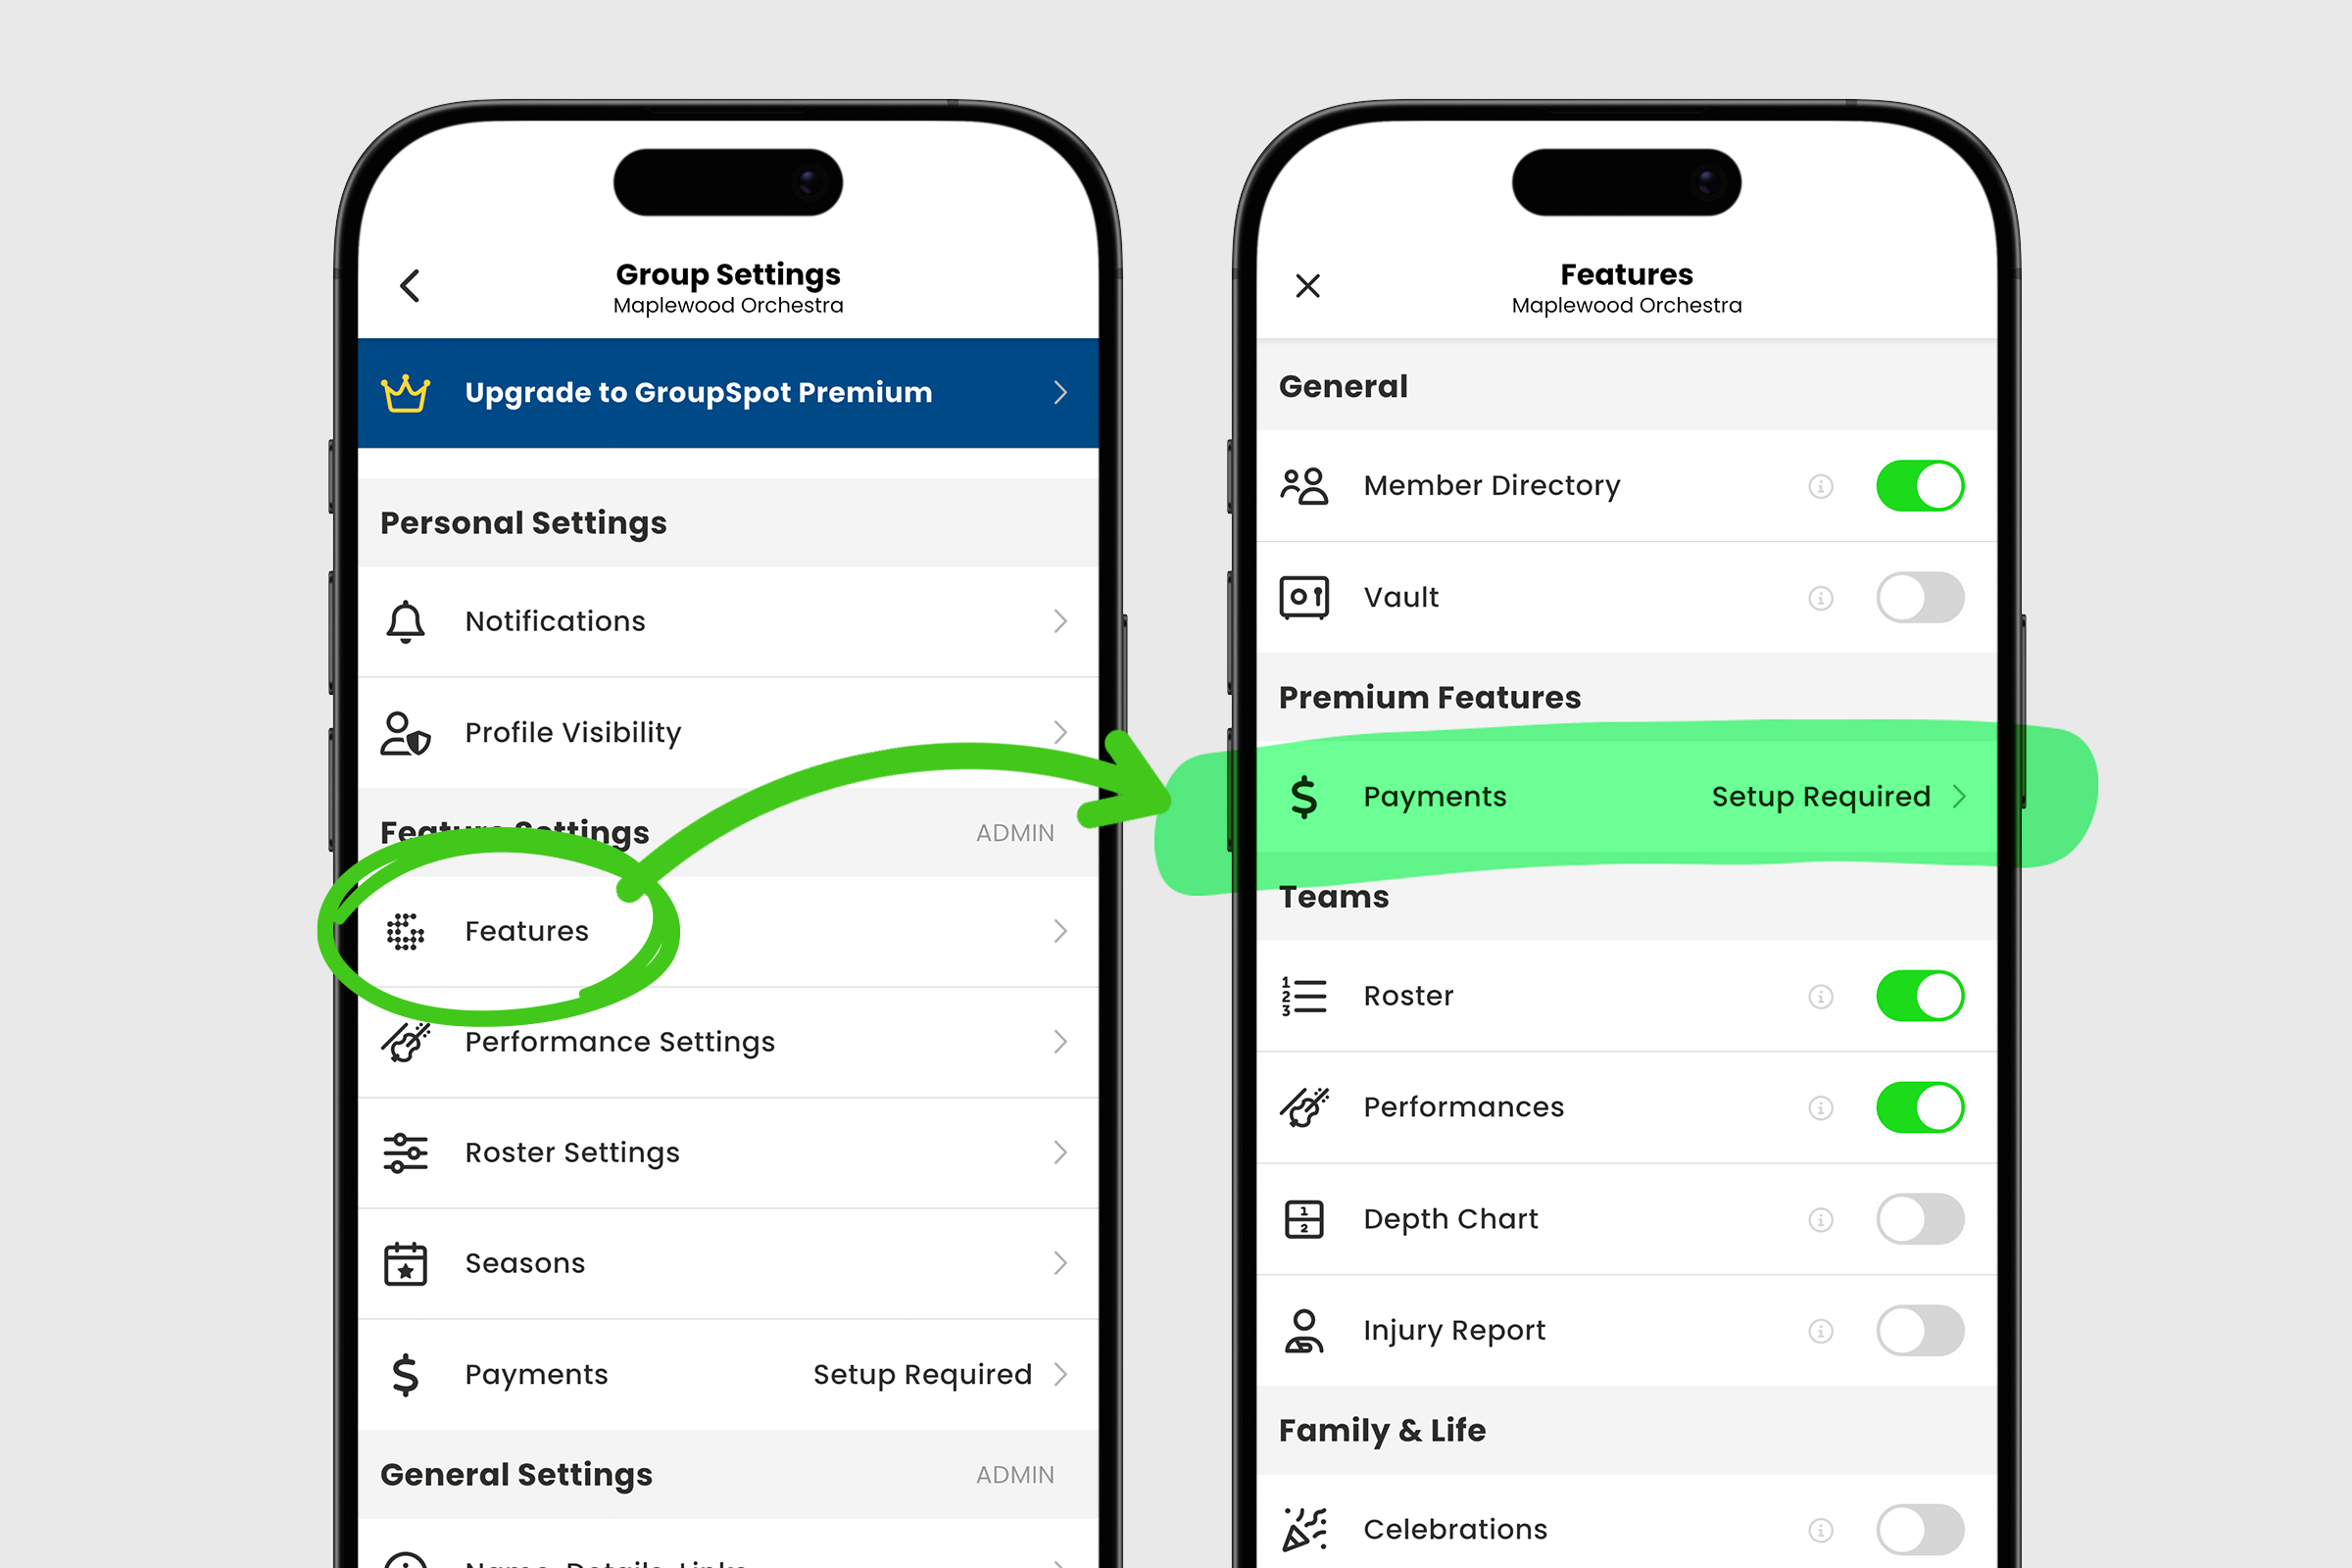
3. The first screen is GroupSpot’s Terms and Conditions. Once you’ve carefully read through how GroupSpot handles Payments and you’re comfortable with the terms and conditions, check the box at the bottom of this screen to agree. Tap NEXT to continue.
4. On the next screen, add your organization details. For more formal groups, you can include legal name and Tax ID. For less formal groups, Tax ID is not required. Tap NEXT to continue.
5. Once your organization details have been provided, add your representative contact details. Tap NEXT to continue.
6. Once you’ve provided your organization and representative details, add your bank details so that GroupSpot can deliver your Payouts by ACH bank transfer. Tap NEXT to continue.
7. The final step in the setup process is to Review & Submit your group details to GroupSpot for verification and approval. Once all required fields are provided, tap Done to initiate the review process.
8. You will receive an email on the status of your application once your submission has been reviewed.
9. Upon a successful review, you will receive an email from GroupSpot confirming you have been approved to use Payments on GroupSpot.


